The Five Cent Party Favour/ Gift Bag...

I had been looking for plain white paper carry bags for Miss S's party favours for quite some time. I had visited every craft store from A to Zurich and finally found some for the bargain price of 4.50 Swiss Francs each ($4USD - yikes!)


Miss S's goody bags all filled and ready to go
After a little origami-esque experimentation I devised a lovely, simple carry bag that can be made from one piece of A4 copy paper or light card and can be made in about 10 minutes (sans decoration, and with a little practice). I calculated that if made from a piece of A4 copy paper, and using inexpensive ribbon, the bag could be made for under five cents a piece.
So, here's what you need if you want to make them for yourself:

* An A4 piece of paper or light card in whatever colour you like (light card will need to be used if your bag's contents are going to be a little heavy)
* Narrow double sided tape or a gluestick
* Metric ruler
* Pencil & eraser
* Scissors
* Hole punch (I like to use a long-reach hole punch as shown)
* Scoring tool, if using card (if you have it, otherwise you can just gently use your scissors)
* 43cm (17 inch) piece of wide satin ribbon, if you want a ribbon handle

Lay your piece of A4 paper out in front of you, landscape-wise, and bring the two shorter edges together. Gently pinch the top and bottom to mark the centre of the paper. If you don't want to make a pinch in the paper you could measure to the centre.

Make a light mark with your pencil in both creases. (Note: My marks and lines will be much heavier than yours need to be because they need to show up in the photos).

Lay your ruler on the paper and measure and mark 4.5cm either side of the centre point. This is the width of the bag's front panel (9cm). Do this top and bottom and then join the marks with two faint lines (or if you are using card you can skip the pencil marks and go straight to scoring). Erase your centre marks.

Now make four marks, 5cm in from each corner. Join these lines with a faint pencil line from top to bottom.

This photo shows all the vertical lines

Now with your ruler along the first line on the left, measure 5cm up from the bottom edge and mark. Repeat this for the last line on the right. Join with a faint pencil line.

All measurements are done now!
If you want to have a ribbon handle, then punch your holes now. Mark where you'll punch them first:

Then punch them out:

Cut up each vertical line from the bottom edge to the horizontal line.


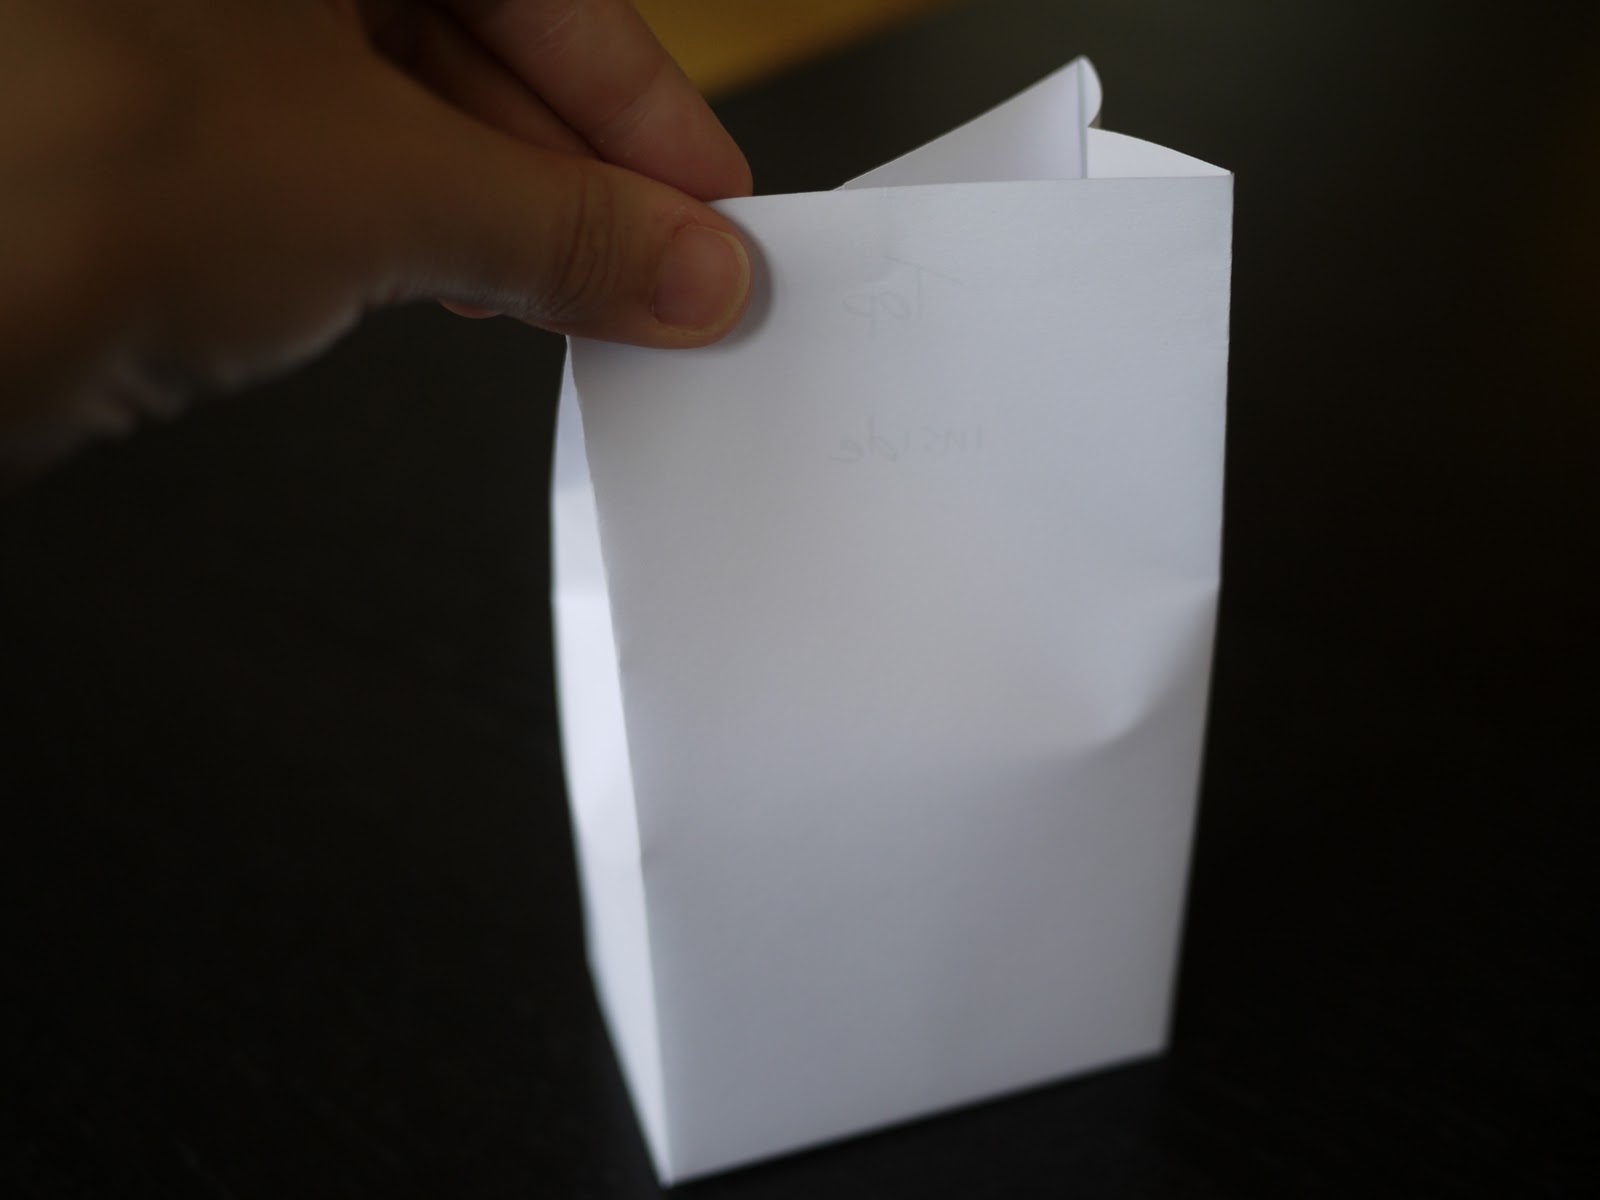
Now assemble the bag: Fold all creases inward. Peel off the backing on the tape strips.

Bring the bag together and seal the back seam.

Pinch both sides of the top as shown.

To attach the ribbon handle: Thread the ribbon through the right hole from the outside and then back out through the left hole.

Short end under then over the top...

Tidak ada komentar:
Posting Komentar